I made myself into a centaur, Half human and half horse.
This was a big costume and it took a long time to build. With the help of my husband I built it from nothing. I'd like to share how this was accomplished.
The costume has a two main parts. The first is the big horse body piece. The second is my shoes. I modified some platform shoes to create the horse leg appearance for my own legs.
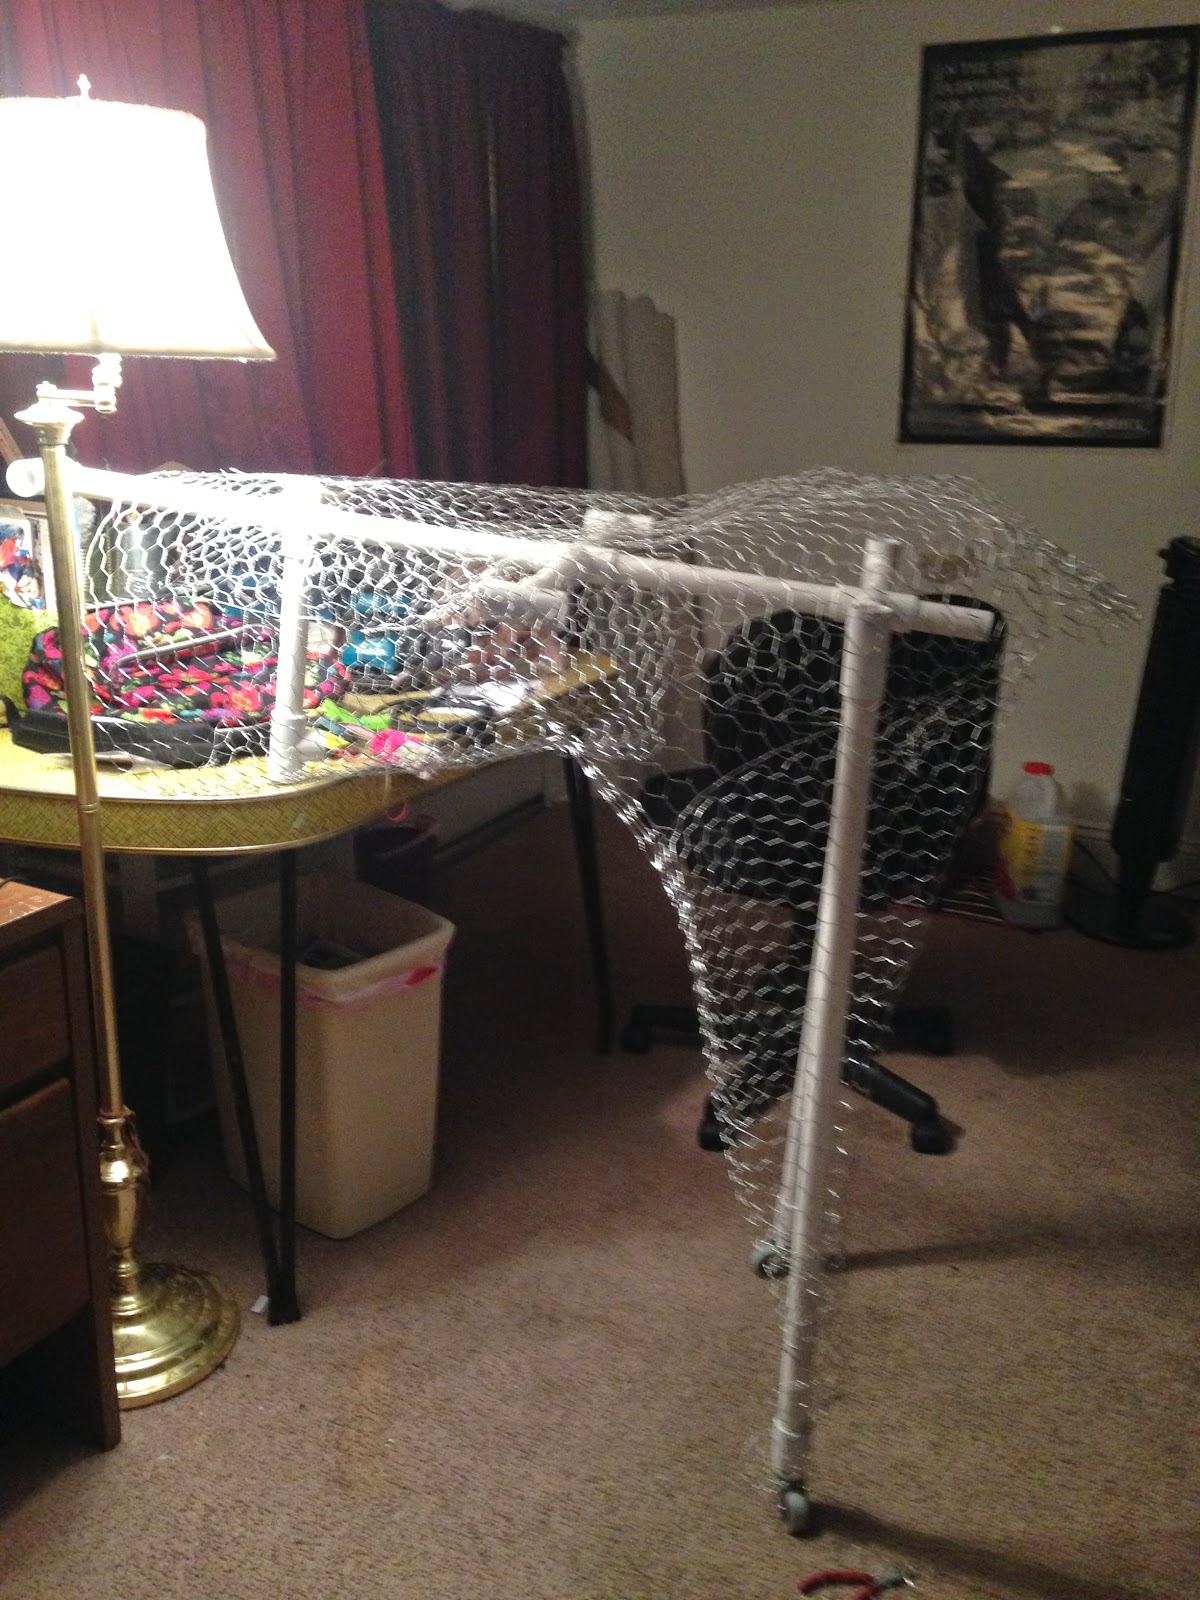
For the body we started with a PVC pipe skeleton. We used pipe glue to fit it together. We used my body's measurements to guide our scale but later shortened the horse torso as it was way too long and looked funny.
We set the back legs on casters. Though I've seen on the internet how some people have made centaurs with the legs moving with your human legs, I thought it better to avoid that mechanical nightmare for myself. I am not mechanically inclined enough for all of that.
I used chicken wire to create the shape of the horse body.
At this point, I thought the legs needed reinforcing so I began to cover them in duct tape. I wanted to get the ankle shape right.
I had considered covering all of the body in tape but changed my mind. Instead, I covered the body in a comforter that I picked up at Goodwill. It was probably a double or queen size. Using a layer of comforter between the chicken wire and my "skin" fabric gave the body more stability, a softer feel, and prevented the wire from showing through.
I hand stitched the comforter around the body with a large needle and embroidery floss. In some places, such as the opening in the front, I sewed the comforter directly to the wire frame.
By the way, working with wire is dangerous and I cut my arms up frequently throughout the process.
Once the comforter was in place it was time to put on the skin. I found an imitation suede upholstery fabric for this purpose. I wish I could tell you the yardage that I used but I bought several partial rolls and I'm not sure how much I did use. I was sick of hand sewing so I used liquid stitch for most of this step. It worked well and make the fabric lay flatter that it would have if I'd sewn it. I only sewed places where I wanted the fabric to curve. The fabric did not stretch well so it was difficult to get a good fit.
Then it needed a tail and some hooves. For the tail I bought a couple packs of synthetic hair from Sally Beauty. This hair was very inexpensive. I got the 30'. It was loose, not attached to a weft. The hair in the package is folded over in half so I used it that way to make my tail. I hand stitched the loop of the folded hair to the center of the rear. For the hooves glued strips of craft fur over the lower part of the foot to disguise the wheels and I colored any brown skin that was showing below it with a black sharpie.
That's how I made my horse. The horse body attaches using a belt threaded through the pipe in the frame so its very sturdy. I created a pair of pants out of the same fabric to wear with everything and match. I later embellished the horse body with leather belts and straps and bags and even got a costume bow and quiver.
So let's back up a bit. While I was making my horse body I was also working on a pair of shoes to make my human legs look more equine. I started with a cute pair of platform prom shoes from Goodwill.
Aren't they beautiful?
First I removed the heels. The lack of heels is what creates the horse ankle shape. The shoes were already tall but I needed them to be taller because horses are very tall and I am not. I attached a 1.5 inch tall block to each platform using screws.
I carved and sanded the blocks into a round hoof like shape.
I used my height with the shoes on as a guide for the length of the legs on the horse body. The horse body will only fit me with the shoes on.With the blocks attached and shaped (and painted!), it was time to cover the shoes in my horse skin fabric. I used liquid stitch for this too except where I used tiny nails around the wood "hoof".
I left the original ankle straps on the shoes to give me some added stability. I'm really not into breaking my ankle, I promise. It took some strategic cutting and gluing to get the fabric to sit right around the top of the shoe. Then I made holes with eyelets to lace the shoes together. I also used the craft fur around the hoof to match the hooves on the horse body.
The shoes look high in the photos but they actually only come up to my ankles.
So there you go! That is how I made myself into a centaur last year. I wore an old belly dance choli top and a scarf and my tribal jewelry and a long wig to make my human half look kind of tribal and wild. The scarf was needed to hide the transition from the horse body to my body.
I was so completely proud of it. I competed in a Halloween costume contest at a party and won second place.


No comments:
Post a Comment